Modding:Inkscape for LT
[This document was originally written by Solace (solace2358) on the LT Discord. It has been adapted to wiki markup.]
Don’t use the autotrace feature.
This guide explains some aspects of XML files associated with SVG images, but for the most part XMLs can be learned about from the templates in LTs game files.
Canvas size for LT SVGs should be 256 x 256. If you open an SVG file in notepad or other text-editing apps, you can see the data that builds the image. Among that data, you should see: viewBox="0 0 256 256"
Viewbox errors lead to the image not being properly sized or placed in the item box in-game. The easiest way to avoid this is to save an existing SVG file under a new name and edit within that canvas.
Setting Up
Color Palette
Clothing can be coloured any way you like, but if you'd like the player to be able to dye your clothing [*Note: weapons, tattoos and species icons use this same color replacement palette], you can specify available colors.
PrimaryColours, secondaryColours, and tertiaryColours can all spawn in as a default color, while their 'Dye' counterparts are only available if the player chooses to dye the clothing in that color. The game detects specific color values, and recolors them to the value chosen by the player.
These values are as follows:
| Red is used as base color for changing the primary color of the graphic in-game, and for most items the game will only recognise and change the following colors: | Orange is used as base color for changing the secondary color of the graphic in-game, and the game will only recognise and change the following colors: | Yellow is used as base color for changing the tertiary color of the graphic in-game, and the game will only recognise and change the following colors: |
| #ff2a2a | #ff7f2a | #ffd42a |
| #ff5555 | #ff9955 | #ffdd55 |
| #ff8080 | #ffb380 | #ffe680 |
| #ffaaaa | #ffccaa | #ffeeaa |
| #ffd5d5 | #ffe6d5 | #fff6d5 |
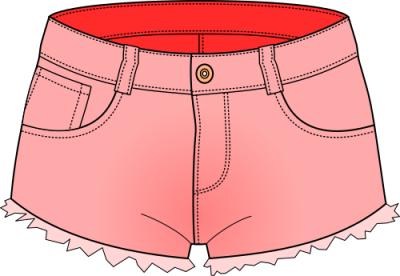
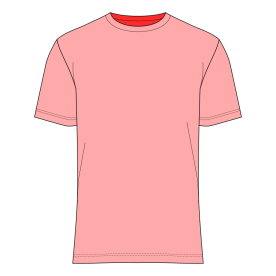
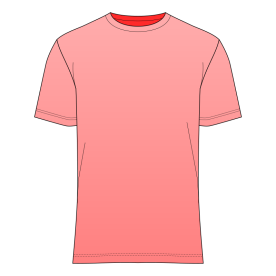
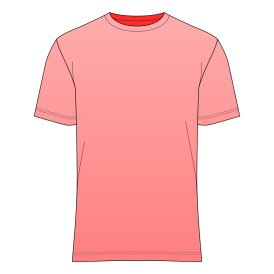
The darker the shade of each color is in the SVG file, the darker the color applied in-game will appear. This can be used to apply shadows as well as indicate depth. Typically, the closer something is to the foreground, the brighter the shade will be used, and the farther something is from the foreground, the darker the shade will be used. Example:
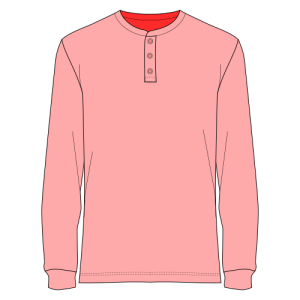
The specific values for weapons and patterns are slightly different. All of the necessary colors for LT are in a document in my Google Drive, next to this tutorial document, called “lt-colors.gpl”.
After downloading that .gpl file, you’ll need to add it to InkScape. The likely file path for this is:
Local Disc (C:) → Program Files → InkScape → share → inkscape → palettes
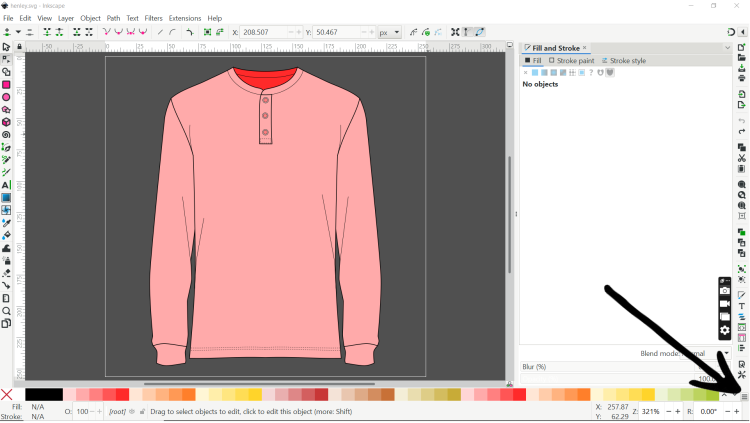
Place the “lt-colors.gpl” file inside of the “palettes” folder, and open InkScape. In InkScape, click the 3 horizontal lines icon at the bottom right of the workspace.
A list of available palettes will appear. Find and select “Lilith’s Throne.” Now the available colors at the bottom of the workspace should be as they appear in the image above. If you hover the cursor over any of the colors, it will tell you what type of item in LT it is meant for, and whether it is Primary, Secondary, Tertiary, or Damage Type (for weapons).
With any object selected in InkScape, you can left-click on a color from the palette to fill the selected object with that color. You can also right-click on the color in the palette list to fill the stroke of the selected object with that color.
Drawing
Fundamentals
InkScape is a vector-based drawing software. The file format for vector images that LT uses is “.svg” which stands for “scalable vector graphic.” Vector images are scalable because they are defined mathematically. As a result, no matter how much you scale a vector image up or down, it will look the same.
Comparatively, most digital artists are familiar with raster images. These are constructed out of pixels which are not naturally scalable. If you scale a raster image up, it will appear blurry as it tries to add pixels between the ones that are already present. If you scale a raster image down, it will lose pixels and become far less clear.
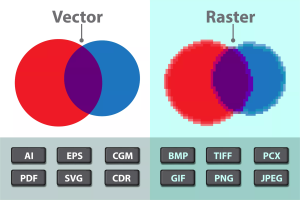
Additionally, a well-optimized vector image will have a much smaller file size than standard raster images and impact the loading time of LT far less.
General InkScape Tutorials
The following links lead to basic tutorials written by the developers of InkScape:
LT Tips and Tricks
As a reminder, the smaller the file size of an SVG image, the less of an impact it will have on the loading times of the game. Another thing to keep in mind is that while vector images are infinitely scalable without losing detail, the actual icons shown to the player in the game are only so big. Oftentimes, it is easy to remove excess detail from an item icon and still communicate the core features of the item.
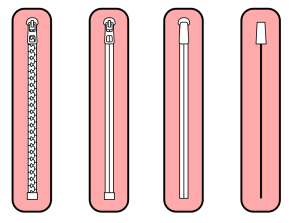
One such detail is zippers. Below are examples of simplification of a zipper. The image on the right is representative of the scale that the zippers would be visible in-game, especially as a detail on a pocket or zipper fly.
 |
 |
The simpler designs still communicate the imagery of a zipper, but have far fewer nodes and thus less information to calculate.
Even though vector image files are already generally smaller than raster image files, there still exists some comments and metadata inside the .svg files from InkScape whose information is not necessary to run in LT. When you have completely finished with a drawing for an item icon, the file should be optimized.
[ User:Sightglass: It is recommended to use the command-line SVGO utility instead of the in-Inkscape optimizer. See the section below for #SVGO ]
Optimization can be done directly from InkScape. To do so, save the file as (ctrl+shift+s), and then in the drop-down box for file types to save as select “Optimized SVG.” A box will pop up with configuration settings for your optimized SVG.
- Under the Options tab, uncheck the box labeled “Collapse groups.”
- Under the IDs tab, uncheck the box labeled “Shorten IDs.”
- If you plan on making clothing which can have patterns applied to them, then type “patternLayer” into the box labeled “Preserve the following IDs.”
Those settings will stay the same in the future, so you only need to make those changes once. Your new optimized SVG should be anywhere from 25-50% smaller than it was before.
Given the limited size available to icons in-game, not only is choosing which details to include important. It is also important to choose how some details are emphasized over others. This is easily done with stroke thickness. In general, the outline of an object has the thickest stroke, and details get smaller strokes the smaller the detail.
In this example, the outline of the overall object is 1 thickness. The belt loops, wrinkles, and internal seams are 0.5 thickness. I generally try to use only two or three different thicknesses so that it is easier to keep track of groups of lines. Stitching can be either the same thickness as the outline or the internal details, depending on what looks better for the object. Some clothing has more visible stitching than others. In this example, the stitching is between the two, at 0.75 thickness.
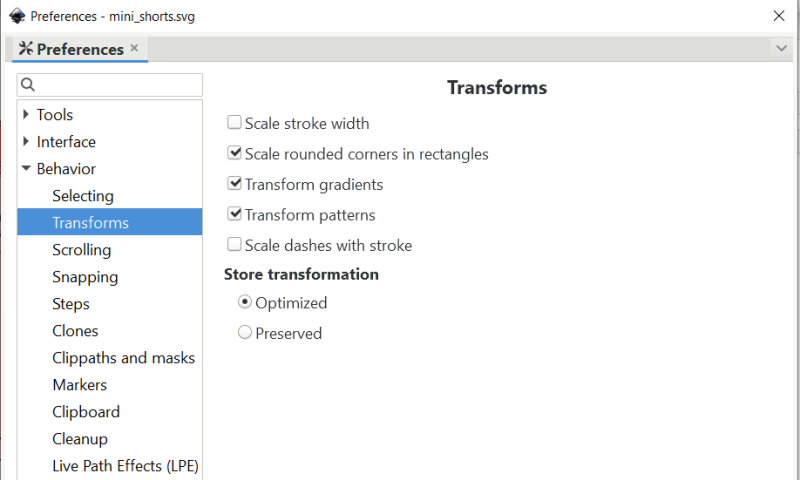
To make modifying your objects easier, I recommend going into:
edit → preferences → behavior → transforms
and unchecking “scale stroke width.” This will keep the stroke thickness the same regardless of scaling the object. Otherwise, you will end up with different stroke thicknesses containing values with several decimal places.
SVGO
[This section is not included in the original document from Solace. Added by User:Sightglass]
SVG Optimizer (SVGO) is a command-line application for cleaning up SVG files, removing unneeded or hidden elements, defaults, etc. to decrease file size and improve rendering times without impacting the actual image as displayed. For use with LT, you will need SVGO v1.3.2, and the svgoConfig.yml, found on the github repository here: https://github.com/Innoxia/liliths-throne-public/blob/dev/svgoConfig.yml Note: The installation instructions at the top of the linked yml file are incorrect. It is necessary to specify the SVGO version with "@1.3.2", as reading YML files was removed in a later version.
To use SVGO, Node.js (https://nodejs.org/en/) is required. It can then be installed using npm install -g svgo@1.3.2 from the command line. Usage follows with svgo --config=svgoConfig.yml target.svg, where absolute paths may be required if the config file or the target file are not located in the current working directory. The target may also be a directory.
Gradients
Gradients can be applied to achieve a variety of visual effects. The most common of these is shading. This helps add some depth to otherwise flat looking images.
Contrary to what it says in the LT template files, you can make gradients out of any of the color values that LT is able to read onto images. They do not need to be named. You can draw the direction of a gradient on any selected object with the gradient tool (G). Under the “Fill and Stroke” tab (Shift+Ctrl+F) you can modify the gradient. Only linear and radial gradients will show up properly in LTs image rendering.
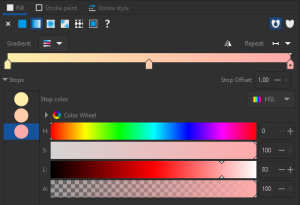
You can add more values to a gradient than the start and end, called “stops,” by double clicking on the sliding bar above. If desired, the stops on a gradient can be from primary, secondary, and/or tertiary values at the same time. Gradients make a file larger than solid shades of a color value.
Clothing
Clothing in LT is typically drawn from a straight-on front view. There are rare exceptions where the details of the back of an article of clothing are more important to emphasize than the front.
Examples:
 |
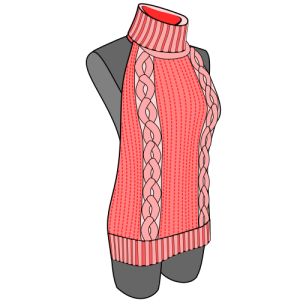 |
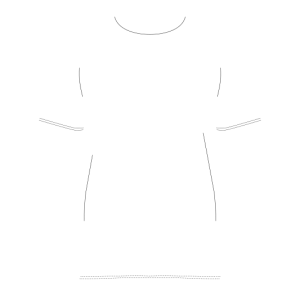
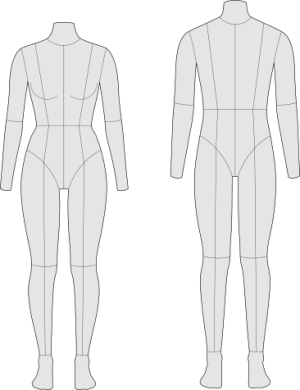
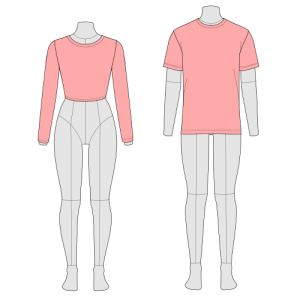
In the 2nd example, a mannequin has also been used to give a better sense of the perspective. Mannequins in clothing icons can be useful for maintaining visual continuity of shapes of clothing. Some clothing lacks elements like sleeves, or feature cutouts that do not have the same silhouette as a full-coverage garment. The silhouette of these garments alone can appear strange without a body wearing them. At the same time, the inclusion of a mannequin in the final clothing icon can also be limiting to players' mental image of the body type of their character. Regardless, in all cases, mannequins are useful for drawing clothing with proper proportions. This is especially true if the reference image for a piece of clothing is at an angle or has bizarre proportions (this is likely the case for clothing from art/anime).
 |
 |
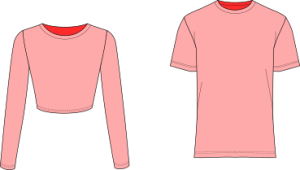 |
The mannequin models shown in the example above are available in my Google Doc, next to this tutorial. Note: Bodies do not scale proportionally as BMI increases. The mannequin models can be edited to reflect differently sized bodies if desired, but to do so properly requires more work than simply linearly scaling the models.
Most clothing is symmetrical, and it is generally easier to draw half of a garment and then mirror that half and combine them. This is another reason that drawing a front-view is recommended.
Patterns
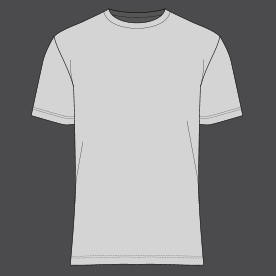
If you want a piece of clothing to be able to have patterns applied to it, there needs to be a layer in the SVG called “patternLayer” with the part of the item that will show the pattern.
Nothing needs to be done in the XML file unless you want to set default patterns. When a pattern is selected, the dyeable color options from the pattern itself will be presented. This is independent of dyeable color options in the item XML.
The layer named “patternLayer” which contains the part of the item that can have a pattern applied to it needs to be one single joined object with solid color. In InkScape, you can manage layers by selecting “Layers and Objects” under the layers tab, or pressing Shift+Ctrl+L
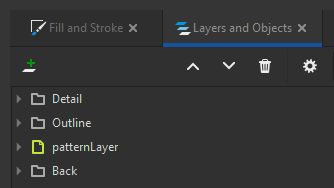
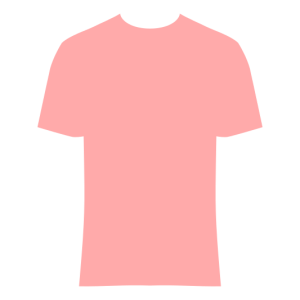
I organize objects for patternable clothing like this. The patternLayer is the only layer that I specify, everything else is in groups. The groups do not have to be named, but for the sake of demonstration they are named in this file.
When creating your own pattern, a different set of colors needs to be used for the game to read and translate the file into dyeable colors.
| These are the primary colors: | These are the secondary colors: | And these are the tertiary colors: |
| #c83737 | #c87137 | #c8ab37 |
| #d35f5f | #d38d5f | #d3bc5f |
| #de8787 | #deaa87 | #decd87 |
| #e9afaf | #e9c6af | #e9ddaf |
| #f4d7d7 | #f4e3d7 | #f4eed7 |
Colors do not need to be specified in the XML file for the pattern. The presence of primary, secondary, or tertiary hues in the SVG file will automatically present you with the appropriate color options in-game when the pattern is applied to an item.
Components of the pattern do not need to be in separate layers, but each component should be a single joined object. Even if elements that are the same color are not touching, they can be joined into a single object. This is different from grouping objects.
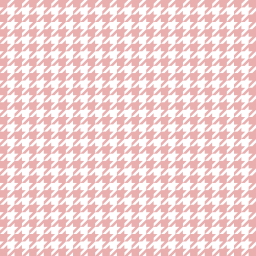 |
 |
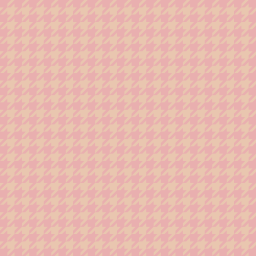 |
Very little information is necessary in the XML of a pattern. Here is the XML information for the above pattern:
<?xml version="1.0" encoding="UTF-8" standalone="no"?>
<pattern>
<name><![CDATA[houndstooth]]></name>
<defaultPattern>true</defaultPattern>
<patternName>houndstooth.svg</patternName>
</pattern>
Stickers
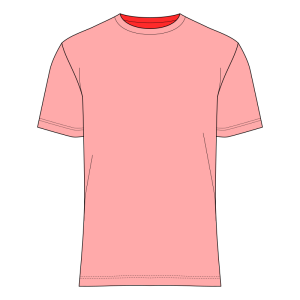
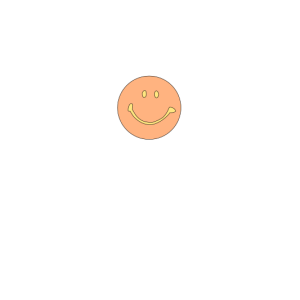
Stickers are secondary details that can be used to customize a clothing item without needing to have separate items. Examples of this would be graphics that are smaller or more specific than patterns, name tags, patches, pins, etc;
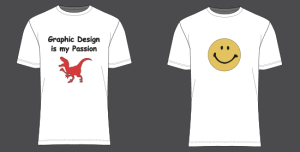
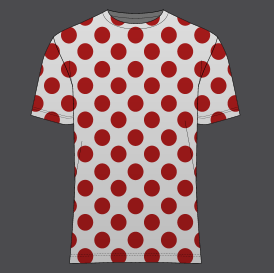
Sticker application is more complicated in the XML than patterns. This is the how the stickers for the above example are written in the XML:
<stickers>
<category id="design" priority="1">
<categoryName><![CDATA[Design]]></categoryName>
<sticker id="none" priority="1" defaultSticker="true" zLayer="1">
<stickerName><![CDATA[None]]></stickerName>
<namePrefix/>
<namePostfix/>
<descriptionModification/>
<imageName/>
<itemTagsAdded/>
<itemTagsRemoved/>
<unavailabilityText/>
<availabilityText/>
</sticker>
<sticker id="graphic" priority="1" defaultSticker="false" zLayer="1" colourDisabled="" colourSelected="">
<stickerName><![CDATA[Graphic Design]]></stickerName>
<namePrefix/>
<namePostfix priority="1"><![CDATA[(graphic)]]></namePostfix>
<descriptionModification fullReplacement="false" priority="1"><![CDATA[ <i>This t-shirt has a simple graphic applied to it.</i>]]></descriptionModification>
<imageName zLayer="1" slot="TORSO_UNDER">graphic.svg</imageName>
<itemTagsAdded/>
<itemTagsRemoved/>
<unavailabilityText/>
<availabilityText/>
</sticker>
<sticker id="smily" priority="1" defaultSticker="false" zLayer="1" colourDisabled="" colourSelected="">
<stickerName><![CDATA[Smiley Face]]></stickerName>
<namePrefix/>
<namePostfix priority="1"><![CDATA[(smiley)]]></namePostfix>
<descriptionModification fullReplacement="false" priority="1"><![CDATA[ <i>This t-shirt has a simple graphic applied to it.</i>]]></descriptionModification>
<imageName zLayer="1" slot="TORSO_UNDER">smily.svg</imageName>
<itemTagsAdded/>
<itemTagsRemoved/>
<unavailabilityText/>
<availabilityText/>
</sticker>
</category>
</stickers>
Category id can be used to allow multiple sticker types on the same base item. See rental_mommy.xml in the game files for an example.
When stickers are used, if you want a “blank/none” option, that also needs to be specified. See the sticker id in green above.

Weapons
Weapons in LT are divided into melee weapons and ranged weapons. Both types follow the same color rules, the only differences are in the XML files. Ranged weapons typically have an essence cost per attack.
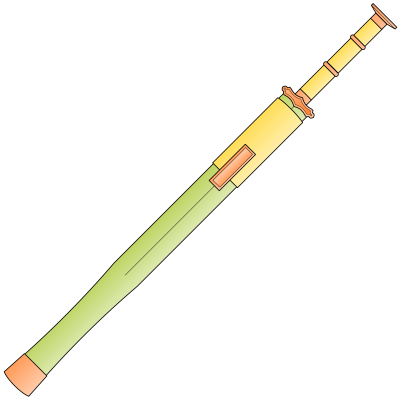
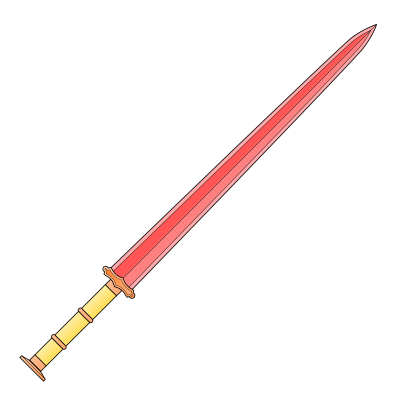
In the XML of a weapon, there are spots for designating an equipped image and an unequipped image.
|
|
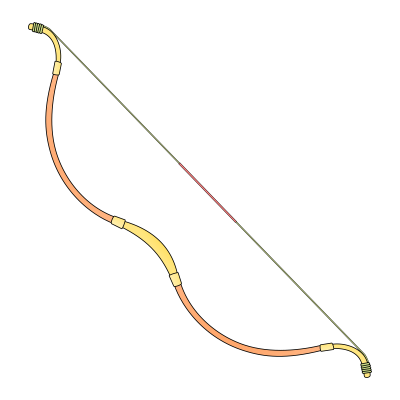
|
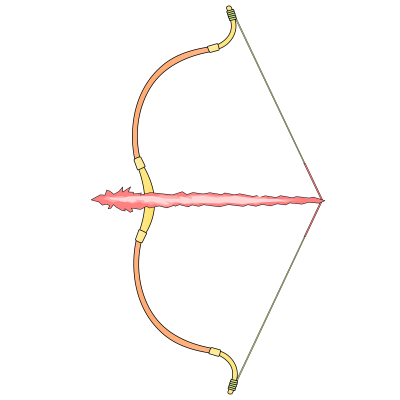
|
| Unequipped image
(Shown when the item is in a vendor’s inventory, the player’s inventory, or in a storage inventory) |
Equipped image
(Shown when the item is actively equipped in a character's hand) |
For a melee weapon, the unequipped image is typically in a sheath and the equipped image is unsheathed. If the weapon does not use a sheath (such as a bat or hammer), the equipped and unequipped images can be the same image.
For a ranged weapon, the unequipped image is typically unloaded and the equipped image is loaded.
The colors that weapons use are mostly the same as with clothing, but they are applied in different ways. The red shades are applied to the Damage Type of the weapon. In LT, blades of weapons are made of arcane energy to avoid causing real physical harm, so atypical colors are less abnormal. The available damage types that you can forge a weapon as must be designated in the weapon’s XML file.
| The red shades are applied to the Damage Type of the weapon. | In place of red, orange is used as base color for changing the primary color of the graphic in-game. | Yellow is used as base color for changing the secondary color of the graphic in-game. | Green is added and used as base color for changing the tertiary color of the graphic in-game. |
| #ff2a2a | #ff7f2a | #ffd42a | #abc837 |
| #ff5555 | #ff9955 | #ffdd55 | #bcd35f |
| #ff8080 | #ffb380 | #ffe680 | #cdde87 |
| #ffaaaa | #ffccaa | #ffeeaa | #dde9af |
| #ffd5d5 | #ffe6d5 | #fff6d5 | #eef4d7 |
Tattoos
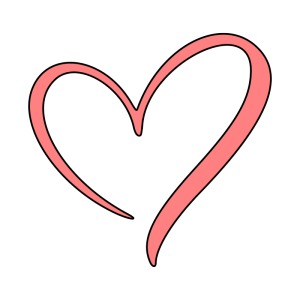
Tattoos are the simplest objects to create in LT. They are just an image and a small XML.
Items
Items are not dyeable, so they should be coloured in InkScape exactly how they will appear in-game.
The most common items that are modded into LT are race items. These consist of a food item that offers temporary stat bonuses and can be enchanted into a transformation elixir, and a drink item that also offers temporary stat bonuses and can be enchanted into a potion that offers more temporary stat bonuses.
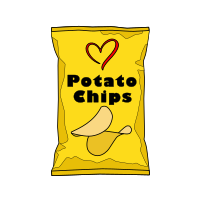
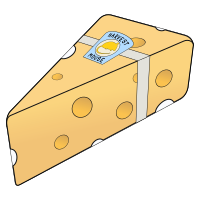
Food items are represented in whichever view shows the most relevant details. A bag or container of something is best represented from a front view, whereas a loose item or an item that sits on a plate or tray is often best represented from an angle looking down on it slightly.
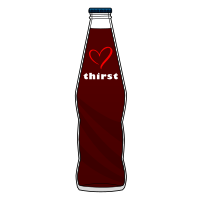
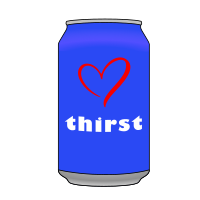
Drink items are usually represented in a glass bottle, but any container is valid. Drink containers come in all shapes and sizes. The only thing to really consider is readability of labels, keeping in mind the in-game scale of image renders.
Race food and drink items have a background that is split into two pieces. Only one of each of these files is needed for multiple food and drink items.
 |
 |
Races
Race icons are similar to tattoos. These are the icons that are applied and viewable in a circular icon when viewing an NPC, as well as the icon applied to the cover of a book that describes the species and grants an attack bonus against the species when read.
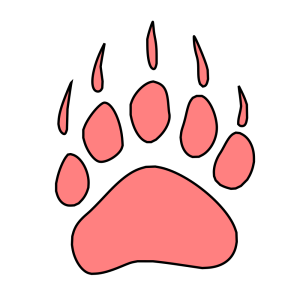
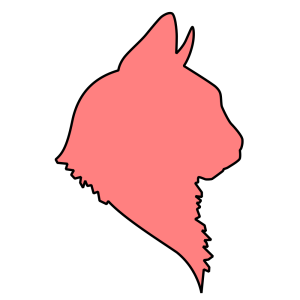
They are a singular image per species and subspecies where applicable. They can be as detailed or simple as desired, but most base-game species icons are just a silhouette of the head, hand/paw of the creature or an item associated with the creature being defined. The most distinct feature of the race will be best.
Race icons just use the red primaryColour values and their in-game color is defined in an XML.
